Choosing the right Dental Front Surface Mirrors can influence visibility, precision, and everyday comfort during treatment. Unlike rear-surface mirrors, their reflective coating sits above the glass. This design helps reduce double images and unwanted ghosting. The difference becomes noticeable when examining narrow posterior areas or fine restoration margins.
A practical selection begins with image quality. Look for a sharp reflection, consistent brightness, and minimal distortion near the edges. Test the mirror under the operatory light, not only in a showroom. Check several viewing angles. A No. 5 mirror may suit general procedures, while smaller sizes can improve access around crowded teeth. Handle balance matters too. A mirror that feels heavy after ten minutes may slow clinical work. Small details matter.
Sterilization compatibility deserves equal attention. Confirm the manufacturer’s instructions for autoclaving, chemical exposure, drying, and storage. Inspect the surface for scratches, peeling, cloudy areas, or tiny coating defects. These problems can appear gradually. They may be easy to overlook. Reliable brands should provide material information, validated processing guidance, and consistent quality documentation. Independent clinical feedback can add useful perspective, although personal preference is never the whole answer.
There is no perfect mirror. A highly reflective surface may still show glare under certain lights. A lightweight handle may feel less stable for another clinician. Consider your procedures, hand position, lighting system, and maintenance routine together. The best choice is not always the most expensive model. It is the one that delivers a clear image, safe reprocessing, and dependable handling in real clinical conditions. Reassess the choice after regular use. Your first decision may need refining.
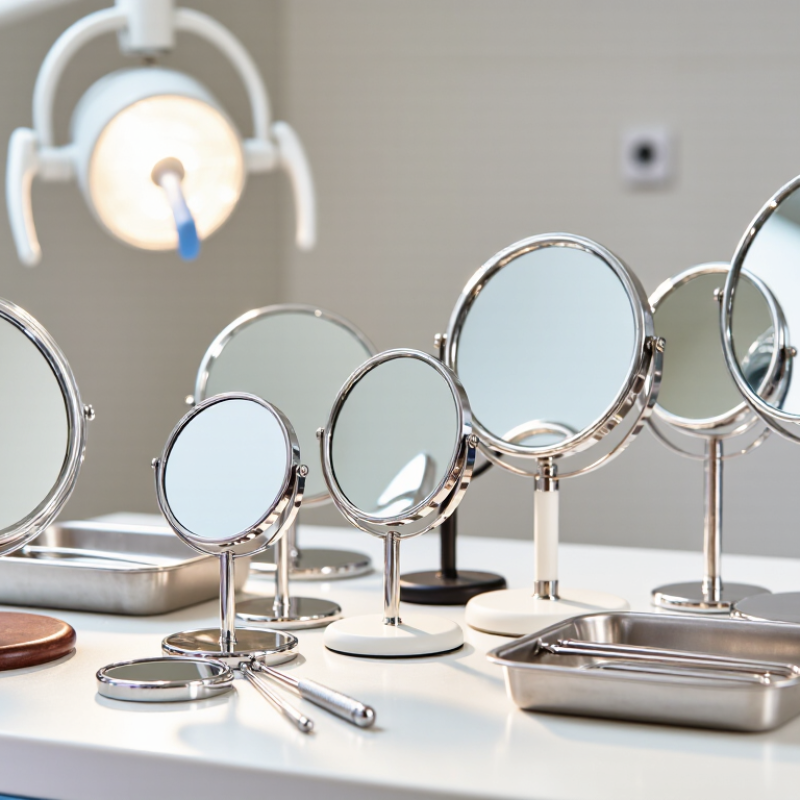
A dental front surface mirror has its reflective layer on the side facing the object. Light reflects before passing through the glass, so the image avoids the secondary reflection, or “ghosting,” common with rear-surface mirrors. In practice, that can make a tooth edge or the margin of a restoration appear sharper under a dental light. The mirror still needs careful positioning; glare and saliva can obscure detail.
The need for reliable examination tools is clear. The World Health Organization’s Global Oral Health Status Report 2022 estimates that oral diseases affect nearly 3.5 billion people worldwide, including about 2 billion people with cavities in permanent teeth. These figures describe disease burden, not mirror performance. When choosing a front surface mirror, check image clarity, distortion across the mirror face, handle balance, and how easily the reflective coating can be cleaned without scratching. A bright image is useful, but not automatically a better one. Coatings may be more vulnerable to wear, so inspect them regularly; a small flaw can distract during close examination. I would compare mirrors under the same operatory light, rather than relying only on a catalog description.
A rear-surface mirror places its reflective layer behind glass. Light crosses the glass, reflects, then crosses back, creating a faint secondary image. At a glass–air boundary, roughly 4% of light reflects when glass has a refractive index near 1.5. That small reflection can soften the main image, especially around a bright explorer tip or a narrow fissure. A front-surface mirror puts the reflective coating on the side facing the tooth. The light does not pass through a glass layer first, so the view is typically crisper, with less ghosting. That matters during fine inspection.
The trade-off is practical. The exposed coating can scratch or wear, so careful cleaning and storage matter; this is easy to underestimate in a busy operatory. ISO 9873:2019 sets performance and test requirements for intra-oral mirrors, a useful reference when comparing optical quality and durability. It does not mean every front-surface mirror performs equally. Check for a clear image at the working distance you use, and inspect the coating under bright light. WHO’s 2022 Global Oral Health Status Report estimates that oral diseases affect about 3.5 billion people worldwide; it does not compare mirror designs, but it underscores why dependable clinical visualization matters. A small ghost image may seem trivial. In practice, glare, angle, and wear can change what you actually see.
Choose mirror size by access, not habit. A No. 3 mirror, about 20 mm across, fits smaller mouths and tight posterior access. A No. 4 or No. 5 offers a wider view for general examination, but may press against cheeks or lips. Round mirrors rotate easily; oval heads can help maintain a view along narrow spaces. ISO 9873:2019 specifies requirements and test methods for intraoral mirrors, including optical performance. Check that the reflective surface gives a clear image without distracting distortion.
Handle choice matters during repeated repositioning. A slim, textured handle can support a relaxed grip, while a heavier or wider handle may feel steadier for some clinicians. Try it with gloves on. A 2020 systematic review in the International Journal of Environmental Research and Public Health reported musculoskeletal symptom prevalence of 64%–93% among dental professionals across included studies; results varied by study and body region. That is a reason to consider grip comfort and wrist posture, not proof that one handle prevents injury. Match the mirror to the task: use a smaller head for confined posterior views, and a larger one when broader coverage helps. Front-surface mirrors reduce the secondary reflection associated with conventional back-surface mirrors. Still, glare and fogging can interrupt the view. Test the mirror under your operatory light, and reassess your choice when access feels awkward.
A front-surface mirror reflects from a coating on the glass’s front face, helping reduce the ghost image that can appear with rear-surface mirrors.
Start with image quality. View a fine line or tooth edge under operatory lighting, then move the mirror slowly. The image should remain sharp, with little color shift or distortion near the edges.
Look closely. A clear view at one angle is not enough; glare can hide detail when the mirror tilts.
Coating quality affects both clarity and service life. Check the reflective face for cloudy patches, pinholes, scratches, or uneven color. Tiny defects can scatter light and make inspection harder.
Do not judge coating durability by appearance alone. Follow the manufacturer’s validated cleaning and sterilization instructions, since unsuitable chemicals or rough handling may damage the surface.
After repeated use, compare the mirror with a new or well-maintained one under the same light. A mirror may look fine on the tray, then reveal haze at a different angle. Replace it when defects interfere with a reliable view, even if the handle and glass still seem intact.
How to Choose Dental Front Surface Mirrors?
How to Select and Maintain a Front Surface Mirror
A dental front surface mirror places its reflective coating on the exposed face of the glass. This reduces the faint second image that can appear in a conventional rear-coated mirror. Check the image across the whole viewing area, not just the center. Straight edges should look straight, and reflected details should stay sharp when you tilt the mirror slightly. That matters. Choose a diameter that fits the working area and a handle that feels steady in a gloved hand. Magnification can help with close inspection, but it may narrow the field of view. It is easy to overvalue a bright reflection and overlook distortion at the edges.
Care affects image quality. After use, follow the instrument’s instructions for cleaning and sterilization; do not assume every mirror tolerates the same process. Remove debris with a soft, nonabrasive cloth and an approved cleaning solution. Avoid scouring pads, rough paper towels, and strong chemicals unless the manufacturer permits them. Rinse if instructed, then dry carefully to limit spotting. Handle the mirror by its edges where practical. Inspect the reflective face under good light for scratches, peeling, or cloudy patches. A tiny mark can become distracting. Replace a mirror when damage affects visibility, rather than trying to polish the coating yourself. My own selection criteria would still benefit from testing several sizes in the actual operatory.
Its reflective coating faces the tooth. Light reflects before passing through the glass, reducing secondary images.
A rear-surface mirror reflects light behind the glass. A faint secondary reflection can soften details, such as a narrow fissure or explorer tip.
Not always. Glare, saliva, angle, and coating wear can still hide details.
View a fine line or tooth edge under operatory lighting. Move the mirror slowly. The image should remain sharp, with little edge distortion.
Check for scratches, cloudy patches, pinholes, or uneven color. Small flaws can scatter light. They are easy to overlook.
Follow the validated cleaning and sterilization instructions. Rough handling or unsuitable chemicals may damage the exposed surface.
Replace it when coating defects interfere with a reliable view. The handle may look fine while the image has become hazy.
Compare them under the same light and at your usual working distance. Check image clarity, handle balance, and distortion across the face. A catalog description alone is not enough.
No. ISO 9873:2019 provides performance and test requirements for intra-oral mirrors, but individual quality can still vary.
Dental Front Surface Mirrors are designed to reflect an image from a coating on the front of the glass, helping reduce the ghosting and distortion that can occur when light passes through the mirror before reflecting. This makes them useful when clear, accurate visibility is important. Compared with rear surface mirrors, they can provide a sharper image, though the exposed reflective layer may require more careful handling.
Choose a mirror size and shape according to the area being examined and the procedure’s visibility needs. A handle should feel comfortable, provide steady control, and work well with the practitioner’s technique. When assessing a mirror, look for a bright, consistent reflection, a smooth surface, and construction that can withstand routine cleaning and use. Proper selection and gentle maintenance can help preserve image quality and extend the mirror’s service life.
