+92 300 6106171 [email protected] Sialkot, Pakistan
ISO 9001:2015 Certified Export Team Online Bulk Inquiry
0%

Choosing the right Root Canal Explorers can influence every stage of endodontic treatment. These small instruments help clinicians locate canal orifices, trace narrow pathways, and assess calcified chamber floors. Their value becomes obvious when visibility is limited and tactile feedback matters more than appearance.

Dr. Stephen Buchanan, a respected endodontist and educator, has stated, “Access is the key to success in endodontics.” That principle applies directly to explorer selection. A well-designed explorer should provide a controlled tip, dependable rigidity, and enough flexibility for delicate exploration. The handle should also support a stable grip during repeated clinical movements. Small details matter here. A sharp tip may improve detection, but excessive sharpness can damage dentin or soft tissue. More rigidity can aid penetration, yet it may reduce sensitivity in curved anatomy.

This guide examines practical factors behind a reliable choice. It considers tip design, shaft flexibility, handle comfort, sterilization compatibility, and durability after repeated use. Clinical experience suggests that no single explorer suits every case. That is the uncomfortable part. Product descriptions rarely reveal how an instrument feels inside a calcified canal. Personal technique, magnification, and chamber anatomy can change the result. Therefore, clinicians should compare instruments under realistic conditions, not rely only on brand reputation or marketing claims. A carefully selected Root Canal Explorers set should support precision, tactile awareness, and conservative treatment decisions. The best choice is often the one that feels predictable, not impressive.
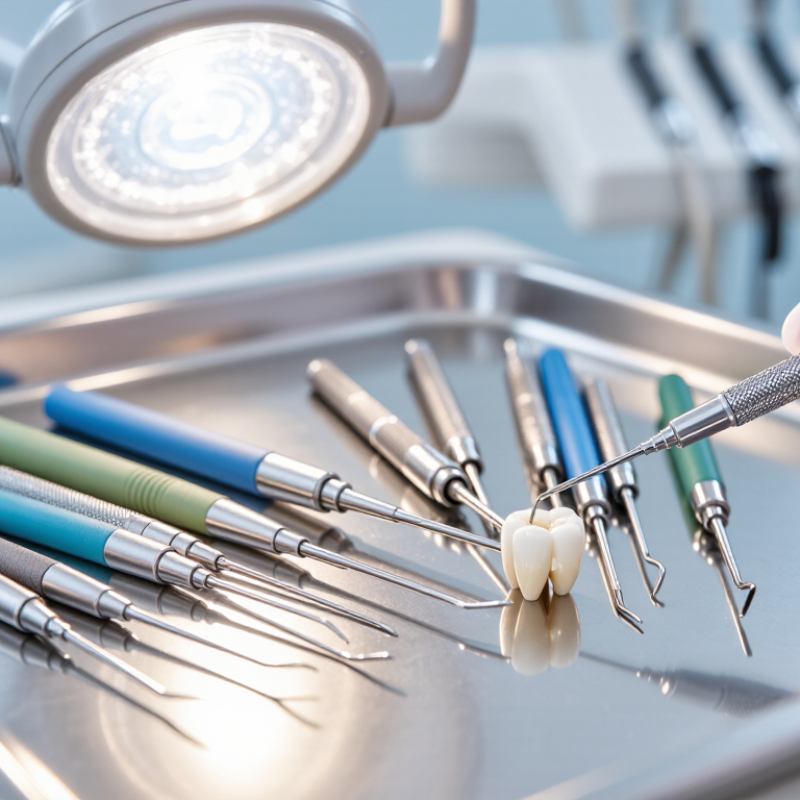
How to Choose Root Canal Explorers for Your Practice?

Understanding the Role of Root Canal Explorers in Endodontic Practice

How to Choose Root Canal Explorers for Your Practice?

Understanding the Role of Root Canal Explorers in Endodontic Practice

A root canal explorer helps clinicians detect canal openings and follow subtle grooves on the chamber floor. Its value is tactile, not diagnostic on its own. A fine, resilient tip can provide control in narrow spaces, while a secure handle supports steady movement. Under magnification, the tip can help distinguish a canal orifice from a stain or dentin irregularity. Small details matter.

A CBCT study by Karabucak et al., published in the Journal of Endodontics in 2016, reported missed canals in 23.04% of the root-filled teeth examined. That finding reinforces careful canal identification, but an explorer cannot guarantee that every canal has been found. Choose a model with a tip that feels precise without seeming flimsy, and a handle that remains comfortable through repeated use. Confirm that the instrument’s material and construction suit your practice’s cleaning and sterilization protocols. The tactile feedback can be subtle—sometimes frustratingly so. It is easy to trust a familiar feel too much; radiographs, magnification, and clinical judgment still matter. A bent or worn tip may also mislead, so inspect it routinely.

How to Choose Root Canal Explorers for Your Practice?

Understanding the Role of Root Canal Explorers in Endodontic Practice

How to read this chart: “Primary explorer task” identifies a common inspection use; the other tasks are primarily performed with different instruments. A root canal explorer can help locate canal orifices and tactually inspect the access cavity. It does not replace files for canal preparation or an apex locator and radiographs for working-length determination. When selecting one, consider a fine working tip, a comfortable handle, clear tactile feedback, and compatibility with your practice’s sterilization process.

This is a qualitative role guide, not a measurement of clinical performance or treatment outcomes.

Identifying Key Design Features for Canal Exploration

A root canal explorer should make small changes in canal anatomy easier to feel, not encourage forceful probing. Look for a fine, tapered working end with a smooth surface and no visible burrs. A gentle curve can help reach around chamber walls, while a tip that is too flexible may transmit little tactile feedback. Too rigid, and it can feel unforgiving. Balance matters.

Check the handle as carefully as the tip. A textured, well-balanced handle is easier to control with damp gloves, especially during brief movements under magnification. The working length should suit the access and visibility needs of your practice; extra length is not automatically better. Notice whether the explorer has one or two working ends, and whether each end is easy to identify without turning the instrument repeatedly. Small detail. Useful in a busy operatory.

Material and finish matter over repeated cleaning cycles. Choose an instrument designed for the sterilization process used in your clinic, and inspect it regularly for corrosion, looseness, or a bent tip. I have found that a polished instrument can look excellent yet offer less grip than expected. That is worth testing before routine use. Select a design that supports light, controlled exploration, and follow current clinical guidance and training when assessing canal anatomy.

Matching Explorer Types to Clinical Procedures

A DG16-style endodontic explorer is useful when locating canal orifices after access preparation. Its fine, angled tips help assess the chamber floor and trace grooves gently. Use light pressure; forcing a tip can damage delicate tissue or create a misleading sense of a canal. Feel matters. For narrow access or restricted visibility, a slender, sharply curved explorer may improve reach, while a straighter tip can offer more control in an open chamber. Choose a design that lets you see the working end, not merely one that feels familiar.

Match the explorer to the task. During initial chamber inspection, use a double-ended instrument to compare angles and approach likely orifices from different directions. For checking a suspected canal entrance, guide the tip along the chamber floor and pause when it catches; confirm findings with appropriate imaging and clinical assessment. An explorer cannot establish working length or replace a shaping file. Not every case fits neatly. Calcification, unusual anatomy, and limited access can make even a suitable tip frustrating, so reassess rather than pressing harder. Inspect tips for damage, keep them clean, and select an instrument that supports controlled tactile examination within your training and clinical protocol.

How to Choose Root Canal Explorers for Your Practice? — Matching Explorer Types to Clinical Procedures

Explorer Type Typical Design Best-Matched Clinical Procedure Practical Use Selection Considerations
DG16-style endodontic explorer Fine, sharply angled working ends designed for tactile examination in the pulp chamber. Locating and confirming canal orifices during access-cavity refinement. Gently trace grooves and inspect the chamber floor for openings, using light tactile pressure. A versatile option for routine endodontic access. Tip sharpness, visibility, and handle control matter.
Double-ended endodontic explorer Two working ends, often with different angulations or orientations. Exploring chamber floors and locating orifices in teeth with varied access angles. Choose the end that provides the clearest approach while maintaining a stable finger rest. Useful when access direction varies by tooth; confirm that both ends are suitable for the intended approach.
Fine-tip endodontic explorer Slender working end intended for precise tactile assessment in restricted areas. Examining narrow chamber anatomy after conservative access preparation. Use to assess small grooves and suspected openings under adequate illumination and magnification. Fine tips can improve access but require careful handling; avoid forceful probing or levering.
Angled-shaft endodontic explorer Shank geometry provides an offset approach to the working end. Exploring canal-orifice locations in posterior teeth or around access-cavity walls. Orient the angle to improve reach and visibility without obstructing the operator’s view. Consider the tooth position, access design, and preferred hand position when choosing the shank angle.
Micro-endodontic explorer Small working end and compact geometry for use in a magnified field. Detailed inspection of chamber-floor anatomy during microscope-assisted treatment. Use with magnification and coaxial lighting to examine subtle grooves and suspected orifices. Best suited to clinicians working with magnification; it does not replace appropriate access, imaging, or canal-length methods.
Standard dental explorer General-purpose pointed explorer; tip and angulation vary by pattern. Supplementary inspection where its working end provides safe, direct access. Use only when the tip and approach are appropriate for chamber examination. A dedicated endodontic explorer is generally more suited to tactile examination of the pulp-chamber floor.

Clinical note: Explorers assist with tactile examination and locating chamber features; they do not determine working length. Use gentle pressure, maintain visibility, and select instruments appropriate to the tooth and access design.

Evaluating Handle Comfort, Tip Precision, and Material Quality

A root canal explorer should feel balanced between the fingers, not heavy at the tip or slippery near the grip. During a careful trial, notice whether the handle turns smoothly without forcing your wrist. A lightly textured surface can help when gloves are damp, while deep grooves may collect debris or feel uncomfortable. Fit matters. Hand size and grip style vary, so a tool that feels precise to one clinician may feel awkward to another.

Tip precision affects how clearly you can assess narrow canal openings and small surface changes. Look for a fine, well-aligned tip that provides tactile feedback without feeling flimsy. Under good lighting, inspect the tip from several angles; uneven shaping or rough edges can make controlled exploration harder. Very sharp is not always better. Delicate anatomy calls for a tip that feels responsive, not aggressive, and individual preferences deserve a second look.

Material quality influences durability and reprocessing. A corrosion-resistant instrument with a smooth finish is generally easier to inspect and maintain through repeated cleaning and sterilization cycles. Check the joint between handle and shaft, since looseness can reduce control over time. Small details count. No explorer lasts forever, and wear can be easy to overlook during a busy day. Include it in routine instrument checks, and follow the manufacturer’s validated care instructions.

Selecting Explorers Based on Sterilization and Practice Requirements

How to Choose Root Canal Explorers for Your Practice?

Selecting Explorers Based on Sterilization and Practice Requirements

Choose explorers that fit your sterilization workflow, not just your hand. Reusable stainless-steel instruments can suit practices with validated cleaning and heat-sterilization processes. Check the manufacturer’s instructions for cleaning, packaging, and cycle compatibility before purchase. Smooth handles are easier to wipe down, while narrow grooves may retain debris. Inspect each tip under good light; a bent or rough tip can make tactile assessment less predictable. It is easy to overlook how small design details affect reprocessing.

The CDC’s 2016 Summary of Infection Prevention Practices in Dental Settings recommends biological monitoring of sterilizers at least weekly. That routine matters when selecting reusable explorers: choose instruments your team can clean, inspect, and track consistently. For busy clinics, a clearly documented instrument rotation can reduce confusion between used and processed tools. Single-use options may simplify reprocessing, but only when labeled for that use and handled according to their instructions. Convenience alone is not a sterilization plan.

Tips: Match explorer quantities to appointment volume, then keep a small reserve for unexpected procedures. Ask staff to test grip and visibility with gloves on. Review the workflow after a few weeks; the first choice may not be the best fit.

FAQS

What is the main purpose of a root canal explorer?

It helps locate canal openings and follow subtle grooves on the chamber floor. Small details matter. Its feedback is tactile, not diagnostic by itself.

How can an explorer help distinguish a canal opening?

Under magnification, its fine tip can assess grooves, stains, and dentin irregularities. Pause when the tip catches. Confirm the finding with imaging and clinical judgment.

What features should be considered when choosing an explorer?

Select a precise, resilient tip that does not feel flimsy. A secure handle supports controlled movement during repeated use. Comfort matters over long procedures.

When is a double-ended explorer useful?

It can offer different angles during initial chamber inspection. One end may reach a narrow area. The other may provide better control in an open chamber.

Should an explorer be used with firm pressure?

No. Use light pressure and gentle movements along the chamber floor. Forcing the tip may damage delicate tissue or create a false sense of a canal. Do not press harder when progress stops.

Can an explorer find every root canal?

No instrument guarantees complete canal detection. One study reported missed canals in 23.04% of examined root-filled teeth. Radiographs, magnification, and clinical judgment remain necessary.

Can an explorer replace imaging or shaping instruments?

No. It cannot establish working length or replace a shaping file. It supports examination only. That limitation is easy to forget.

How should an explorer be maintained?

Inspect the tip routinely for bending, wear, or damage. A worn tip may provide misleading tactile feedback. Clean and sterilize it according to your clinical protocol.

What problems can make canal exploration difficult?

Calcification, unusual anatomy, restricted visibility, and narrow access can reduce control. A suitable tip may still feel frustrating. Reassess the case instead of forcing the instrument.

Conclusion

Choosing the right Root Canal Explorers can support accurate, efficient canal exploration throughout endodontic treatment. Consider how each explorer’s design suits the task, including its tip shape, length, and flexibility. A precise tip can help locate canal openings and follow narrow pathways, while the appropriate design depends on the clinical procedure and the anatomy being assessed.

Comfort and durability matter as well. A well-balanced handle can offer steady control and reduce hand fatigue, while quality materials should withstand repeated use and the sterilization methods required in your practice. Before selecting an explorer, compare its feel, precision, and compatibility with your instruments and clinical workflow. A thoughtful choice can help make canal exploration more controlled and consistent.

Oliver Hayes

Oliver Hayes

Oliver Hayes is a professional marketing specialist who brings a deep understanding of the company’s products and the needs they are designed to address. Through ongoing research and close attention to product details, he turns complex information into clear, useful guidance for customers and......